
3DEXPERIENCE Cloud: Getting Started
A quick overview of the steps after purchasing your 3DEXPERIENCE cloud license, from account creation to your first CATIA launch.
Browse contents
After you purchase your license from a value-added reseller (VAR) like CENIT CCE GmbH, there are several steps before you can start modeling. In this quick guide, I'll walk you through the process the way I recommend doing it.
0. Before Your First Login
A step I suggest doing before anything else: run the Cloud Eligibility Tool from Dassault Systèmes to test your hardware for potential issues. You can download it here.
The tool checks several things, including:
- Are your network settings configured correctly?
- Is your graphics driver supported?
- Is GPU acceleration enabled in your browser? This is particularly important.
If the tool finds any problems, the results page also gives you instructions on how to fix them.
Next, create your 3DEXPERIENCE account. Use the email address you got from your administrator, or the one you gave your VAR when purchasing 3DEXPERIENCE CATIA. This is where the platform invitation will be sent.
Between purchase and first login there are also a few one-time steps. These are usually handled by whoever made the purchase, so if you are an engineer who will simply be using CATIA, feel free to skip ahead.
For admins and purchasers: CLOSA and order approval
After the purchase, the process is usually initiated by your VAR. You or the person responsible for the purchase will receive an email asking you to accept the CLOSA. This agreement needs to be completed before the process can continue.
The acceptance is done fully online. Just make sure it is completed by someone who is authorized to sign agreements for your company. The email is usually sent to those in charge.
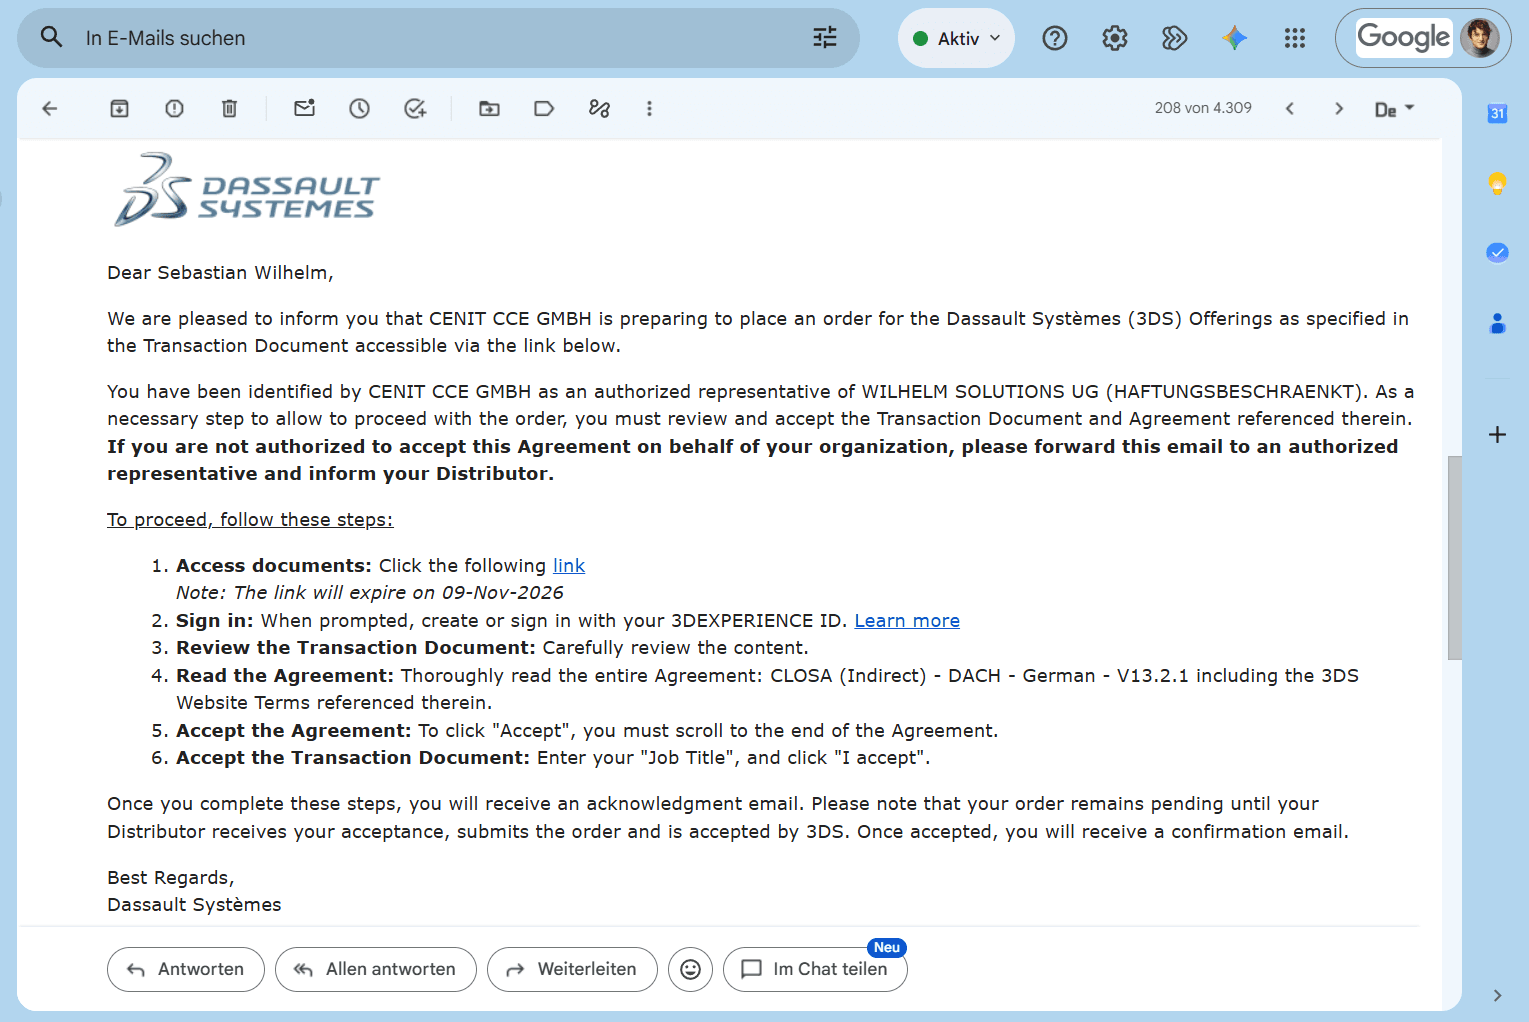
If everything went well, you'll then receive an order approval confirmation.
1. Receive Access to Your Tenant
After the admin steps are completed, you'll get an email with access to the platform and your tenant. Your tenant is your company's own environment on the 3DEXPERIENCE cloud. It contains your organization's data, members, and configuration. Your account identifies you as a user, and the tenant identifies the platform you are accessing.
A tenant-specific address looks something like the example below. The r followed by a number identifies your tenant, and eu1 or us1 is the cloud region:
https://r<TENANT_NUMBER>-eu1-ifwe.3dexperience.3ds.com/I suggest using the exact link from your email and bookmarking it after signing in. Keep in mind that knowing a tenant URL alone won't grant access. Your account also needs to be authorized for that tenant.
2. First Login: Dashboard and Roles
Log in to your dashboard via the link to your tenant from the email.
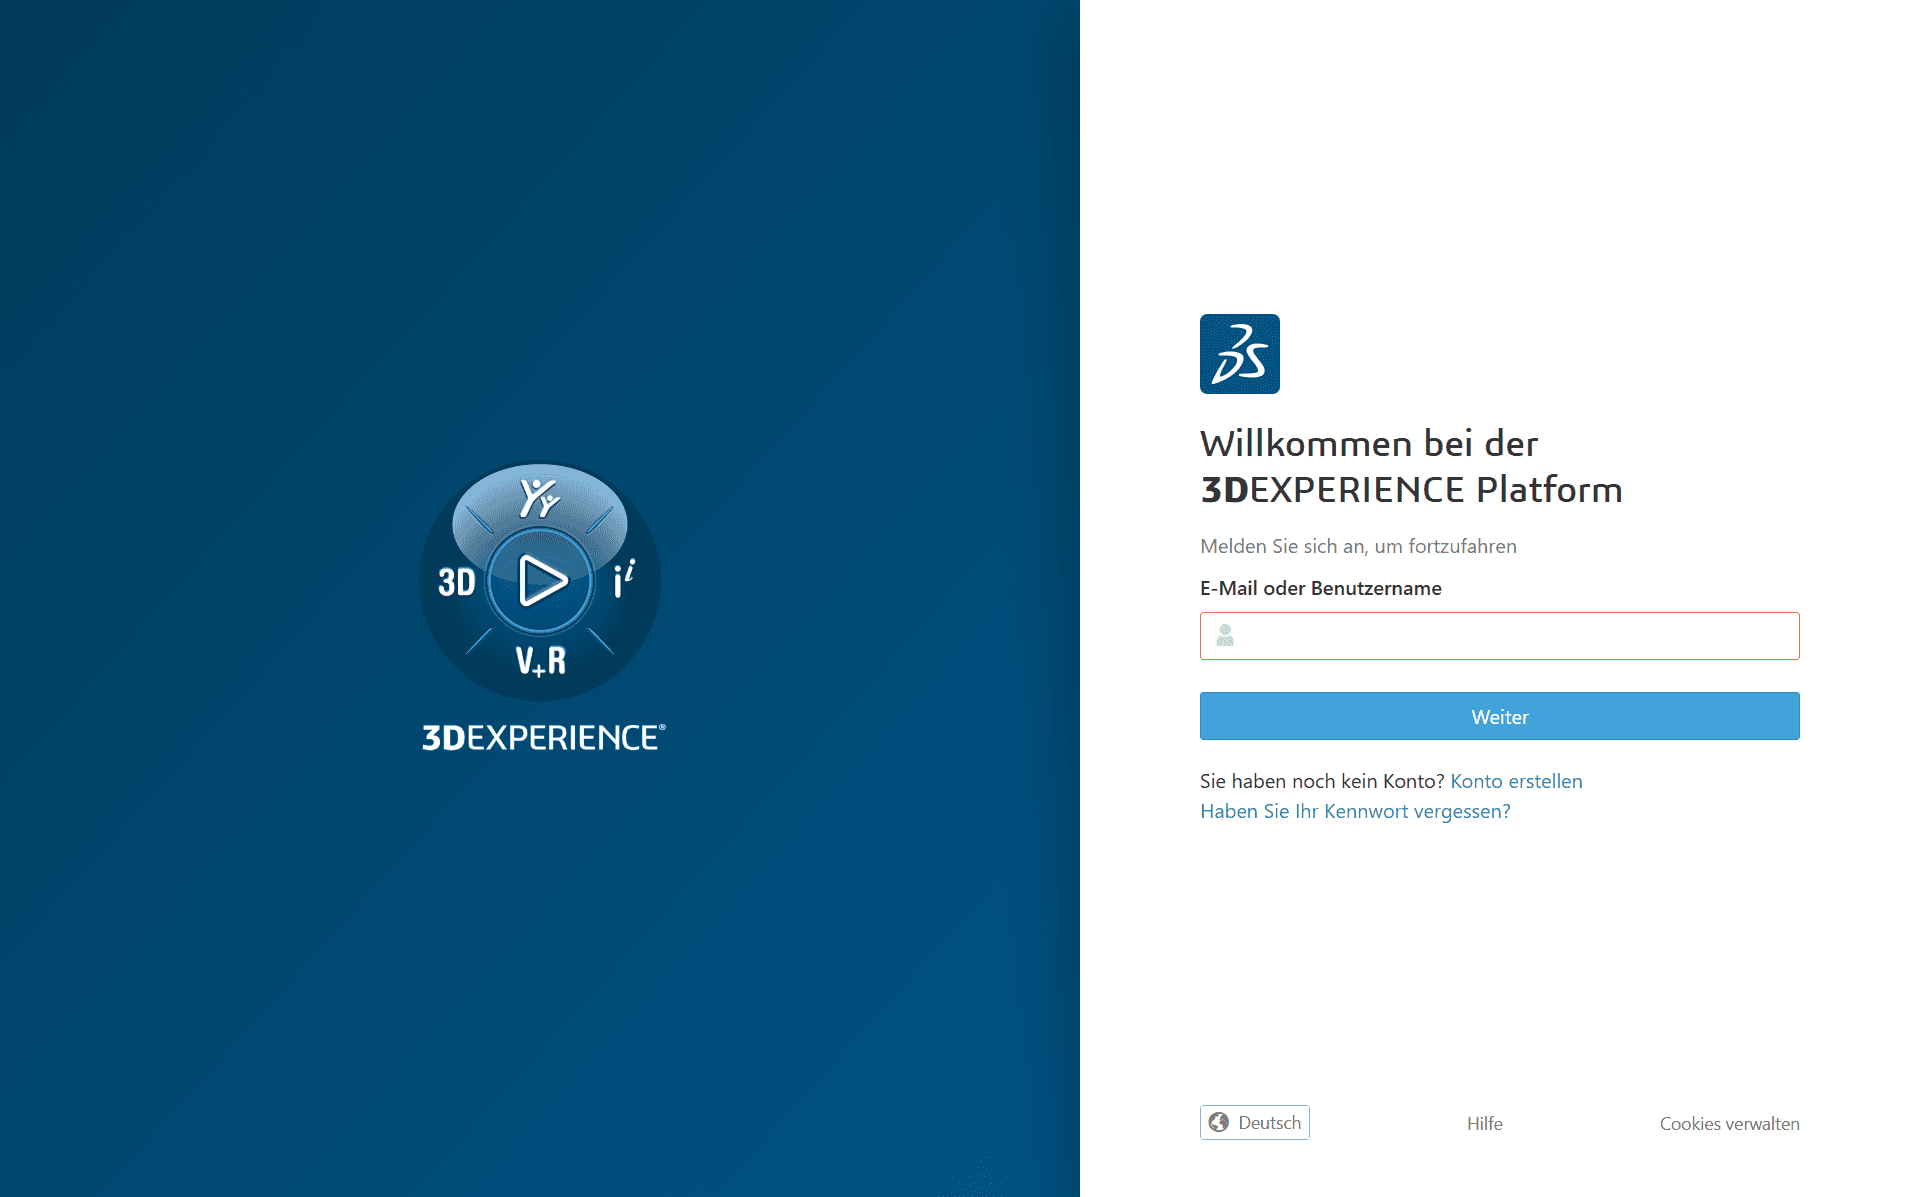
After your first login, it will look something like this:
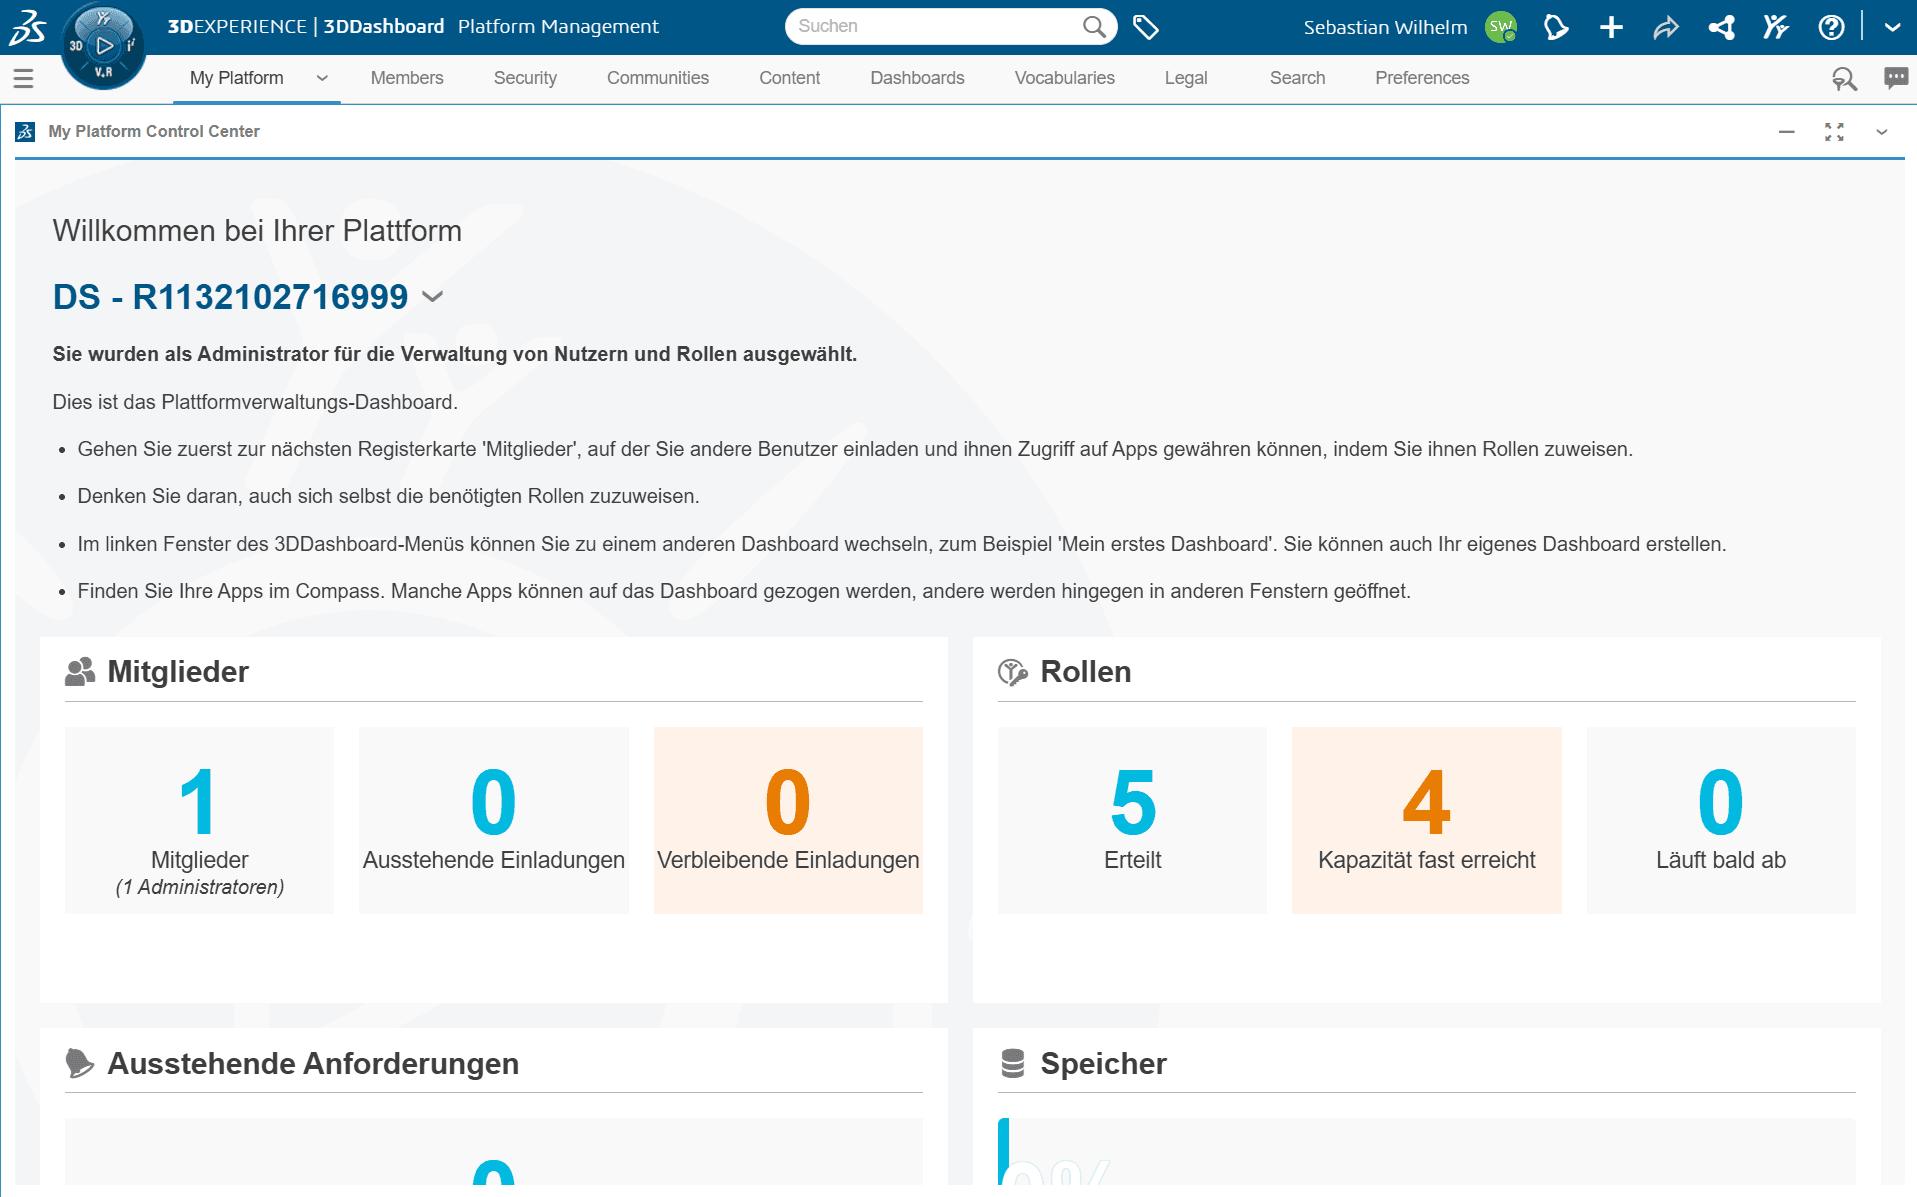
On the top left you'll find the compass, which gives you access to all the important functions and workbenches. In the middle tab are the roles you or your company have available. On first login you might not have the proper roles yet, so make sure to get them assigned before installing. You can request roles directly through the platform, and if you are an admin, you can approve the request yourself. After approval, you'll receive a confirmation email.
If you ever need help, the question mark on the top right offers useful links to the CATIA User Communities. Alternatively, you can request support through the ticket system.
Tip: If you had a 3DEXPERIENCE account before, for example from a V5 platform connection, it can happen that older roles are still selected on your account. I suggest unassigning them before installing, as they can otherwise cause installation issues. Just don't remove roles you still need.
3. Install the Software
To install CATIA, open the compass on the top left and select one of the environments you want to install, in my case Part Design. Via drag and drop you can also add it to your favorites. Clicking it starts the install process. Simply follow along as suggested by the platform.
Tip: I suggest installing all available roles instead of just the one you started with. This reduces the overall time a lot compared to running the installer again for each role later.
The installation is usually split into several steps. This means you'll have to launch the environment from the platform more than once, since some additional tools need to be installed along the way.
4. Launch Your First App
After a successful installation, you can launch the app directly from your tenant within the browser.
If there are issues, I suggest running the Cloud Eligibility Tool first. You can, however, also create a support ticket.

About the author
Sebastian Wilhelm
Founder & CEO, Wilhelm Solutions
CATIA Champion. Working with CAD since 2011, turning repetitive engineering work into automation tools. Sharing CATIA tutorials and speedmodeling.
Connect on LinkedIn